Добавление шрифтов в Библиотеку
The Adding Fonts to Library window appears when you press the corresponding button on the toolbar in the Fonts view.
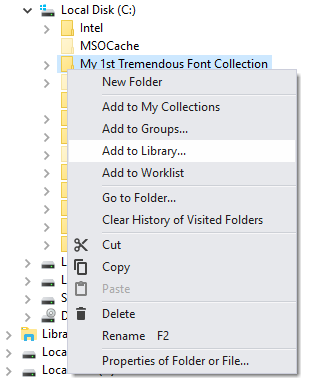
Please note that there are many other ways to add fonts to the Library or to Groups that you may find more convenient. For example, you can browse to a specific folder in the Folders view, select the folder, open context menu and add fonts to Library from this folder.
Or you can copy/paste, drag/drop fonts from the Folders view or from Windows Explorer to Groups or to Library.
Adding fonts to Groups is actually adding to the Library and creating font links within Groups. Each font item in Groups is not a physical font but just a reference to a font located in Library.
So you can add fonts directly to Groups, as it includes an intermediate step of adding fonts to Library. Then you can reorganize the new group, move it to another group or just delete it. When you delete a group, you do not delete the physical fonts. The fonts remain in Library.
To add your fonts to FontExpert font Library, open the Fonts view and press Add to Library button on the toolbar:

At first time the window includes the root folder of the local drive, usually "C:\".
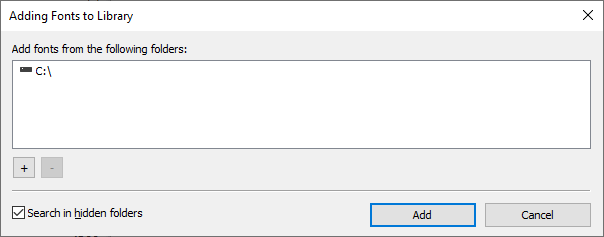
Press "+" and "-" buttons to add or remove folders where to search for fonts.
Press Add button.
To add fonts from a selected folder, open the Folders view, select a folder, and choose "Add Fonts to Library..." command from context menu.
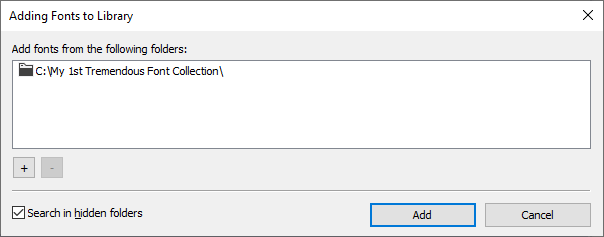
Add to Library feature will copy fonts from selected folder to font storage called Library. Only unique fonts will be copied and added to Library. If some font file is already in Library, it will not be copied. See Fonts View for more information about font Library.